
Introduction
Making your leather vest can be a rewarding and creative project that allows you to unleash your inner artist. Whether you’re a beginner or an experienced crafter, creating a stunning leather vest at home is an achievable endeavor with the right guidance and tools. In this article, I will walk you through the step-by-step process of making a leather vest, from gathering the materials to adding personal touches. Get ready to embark on a journey of self-expression and craftsmanship!

Benefits Of Making Your Own Leather Vest
There are scores of benefits to making your own leather vest. First and foremost, it allows you to showcase your unique style and personality. By handcrafting your vest, you have full control over the design, color, and fit. You can create a one-of-a-kind piece that truly reflects your individuality.
Additionally, making your own leather vest gives you the opportunity to save money. Purchasing a leather vest from a store can be expensive, but by DIY-ing it, you can significantly cut down on costs. Furthermore, you can ensure the quality of the materials used and the craftsmanship of the final product.
Lastly, crafting your own custom made leather vest can be a therapeutic and fulfilling experience. Engaging in a hands-on project allows you to disconnect from the digital world and immerse yourself in a tangible creation. The sense of accomplishment and pride that comes from wearing something you made with your own hands is truly unparalleled.
Materials And Tools Needed For Making A Leather Vest
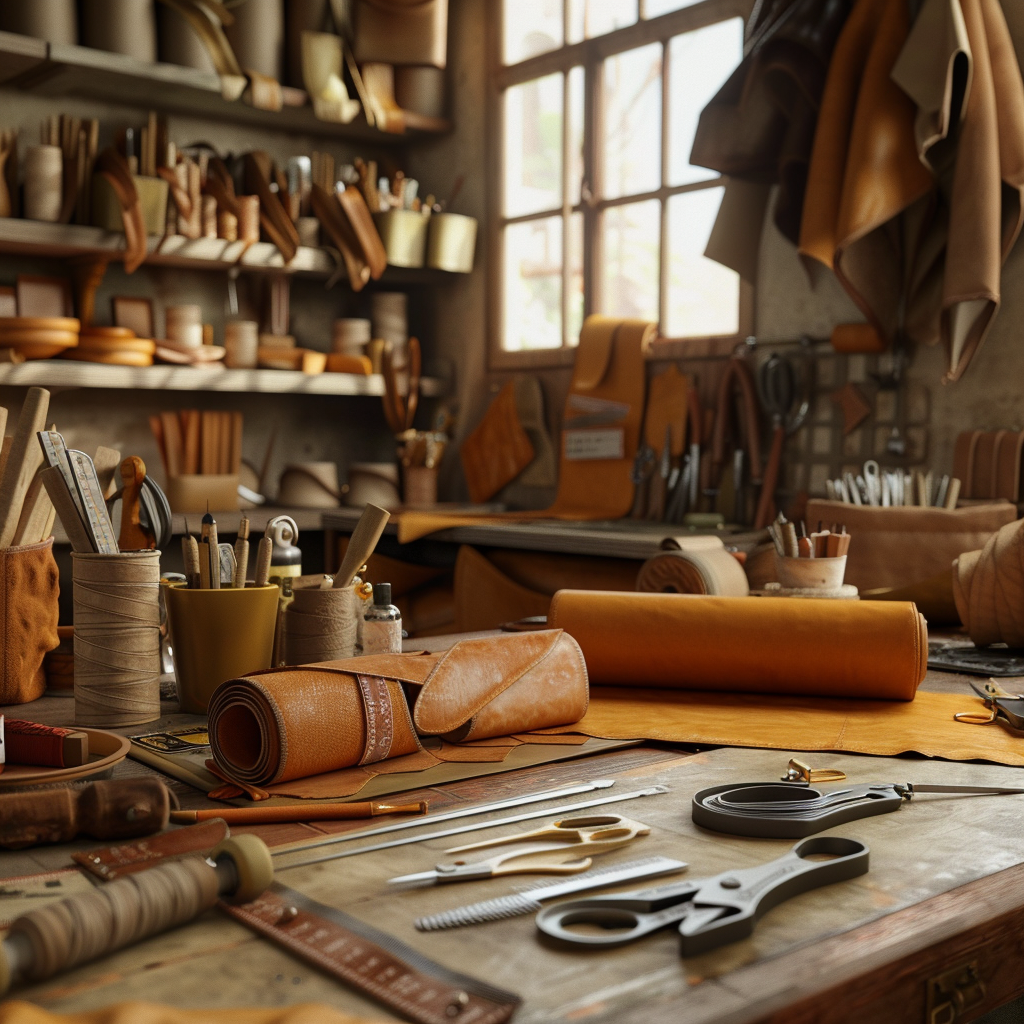
Before diving into the process of making a leather vest, it’s important to gather all the necessary materials and tools. Here’s a list of what you’ll need:
Leather: Choose a high-quality leather that suits your taste and style. Consider the weight, texture, and color of the leather before making a decision.
Pattern: Find or create a pattern for your leather vest. You can either draft your own pattern or purchase one online or from a craft store.
Scissors: Invest in a pair of sharp, durable scissors specifically designed for cutting leather. These will make the cutting process much easier and precise.
Pins and clips: Use pins or clips to secure the pattern pieces to the leather before cutting. They will help keep everything in place and prevent any shifting.
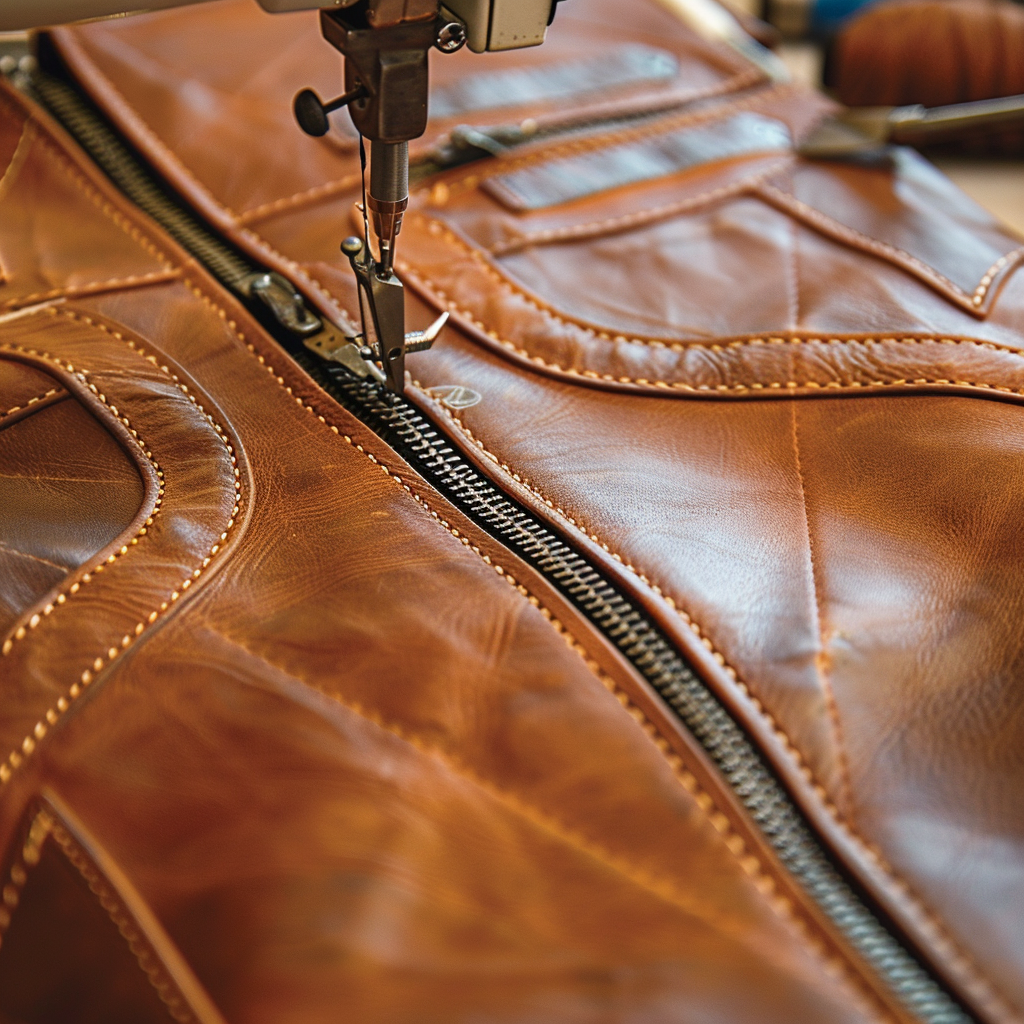
Sewing machine: While it is possible to hand-sew a leather vest, using a sewing machine will save you time and ensure a more professional finish. Make sure you have a machine capable of handling leather.
Thread: Choose a strong and durable thread that matches the color of your leather. Polyester or nylon threads are recommended for sewing leather.
Needles: Use leather needles or heavy-duty needles when sewing your vest. These needles have a sharp point and can easily pierce through the leather without breaking.
Closure options: Decide on the type of closure you want for your vest, such as buttons, zippers, or snaps. Purchase the necessary closures and any additional hardware, like rivets or grommets.
Optional embellishments: If you want to add some decorative elements to your vest, gather any embellishments you desire, such as studs, patches, or embroidery floss.
Now that you have all the materials and tools ready, let’s move on to the step-by-step guide on making a leather vest.
Step-By-Step Guide On Making A Leather Vest
Prepare the pattern: Lay out your pattern pieces on the leather, making sure to align them with the grain. Use pins or clips to secure the pattern and carefully cut around the edges using the leather scissors.
Sew the shoulder seams: With the right sides of the leather facing each other, sew the shoulder seams together using a straight stitch. Reinforce the seams by sewing a second row of stitches close to the edge.
Attach the collar: If your vest has a collar, carefully sew it onto the neckline, following the pattern instructions. Trim any excess leather and press the seam open with an iron.
Sew the side seams: With the right sides together, stitch the side seams of the vest. Start from the bottom hem and sew all the way up to the armhole, using a straight stitch. Repeat on the other side.
Add closures: Depending on your chosen closure, sew on buttons, attach zippers, or install snaps. Make sure they are securely fastened to the leather.
Finish the armholes and hem: Fold the raw edges of the armholes and hem under and sew them in place using a straight stitch or a decorative stitch, if desired.
Optional embellishments: If you want to personalize your vest, now is the time to add any embellishments. Sew on patches, attach studs, or embroider designs to make your vest truly unique.
Press and finish: Use an iron to press your leather vest, paying special attention to the seams and hems. This will give your vest a polished and professional look. Trim any loose threads and give it a final inspection before wearing.
Tips For Achieving A Professional-Looking Leather Vest
Creating a professional-looking leather vest requires attention to detail and a few tips and tricks. Here are some recommendations to help you achieve a polished finish:
Take your time: Leather can be tricky to work with, so don’t rush the process. Take your time to ensure accurate cutting, precise stitching, and careful pressing.
Use leather-specific tools: Invest in tools designed for working with leather, such as leather needles, leather scissors, and clips. These tools will make your job easier and yield better results.
Practice on scraps: If you’re new to working with leather, practice sewing on scrap pieces before starting on your actual vest. This will allow you to familiarize yourself with the material and test different stitches and techniques.
Secure pattern pieces: When cutting your leather, use pins or clips to secure the pattern pieces in place. This will prevent any shifting and ensure accurate cuts.
Test your machine settings: Before sewing on your leather vest, test your sewing machine settings on a scrap piece of leather. Adjust the tension and stitch length to achieve the desired results.
Use the right thread: Choose a thread specifically designed for sewing leather. Polyester or nylon threads are strong and durable enough to withstand the demands of leather garments.
By following these tips, you’ll be well on your way to creating a professional-looking leather vest that you can proudly wear.
Adding Personal Touches To Your Leather Vest
One of the greatest advantages of making your own leather vest is the ability to add personal touches and make it truly unique. Here are some ideas to inspire your creativity:
Embroidery: Add intricate embroidery designs to your leather vest using colorful embroidery floss. You can stitch your initials, floral patterns, or any other design that resonates with you.
Studs and spikes: Give your vest an edgy look by attaching studs or spikes in various shapes and sizes. Arrange them along the collar, and pockets, or even create a pattern on the back.
Patches: Sew on patches of your favorite bands, symbols, or quotes. This will not only add a personal touch but also showcase your interests and personality.
Fringe: Incorporate fringe details along the hemline or sleeves for a bohemian or western-inspired look. Choose a contrasting color of leather for added visual interest.
Paint or dye: Experiment with leather paint or dye to add unique patterns or colors to your vest. Create a tie-dye effect, paint a landscape, or try your hand at leather marbling.
Remember, the possibilities are endless when it comes to personalizing your leather vest. Let your creativity run wild and make a statement with your one-of-a-kind creation.
Caring For Your Leather Vest
Proper care of your leather vest is essential to ensure its longevity and beauty. Here are some tips to keep your vest looking its best:
Avoid water: Leather is not water-friendly, so avoid getting your vest wet. If it does get wet, gently blot the moisture with a clean cloth and let it air dry away from direct heat sources.
Store properly: When not in use, store your leather vest in a cool, dry place away from direct sunlight. Hang it on a padded hanger to maintain its shape and prevent creases.
Condition regularly: Leather needs to be moisturized to prevent drying and cracking. Apply a leather conditioner every few months to keep the leather supple and soft.
Clean gently: If your vest gets dirty, use a soft, damp cloth to wipe away any stains or dirt. Avoid using harsh chemicals or excessive scrubbing, as this can damage the leather.
Avoid extreme temperatures: Keep your leather vest away from extreme temperatures, as they can cause the leather to warp or crack. Avoid exposing it to direct heat sources or leaving it in freezing conditions for extended periods.
By following these care instructions, your leather vest will continue to look stunning and stand the test of time.
Where To Find Leather And Other Supplies For Making A Leather Vest
Finding high-quality leather and other necessary supplies for making a leather vest can be a challenge. Here are some options to consider:
Local craft stores: Visit your local craft stores and see if they carry leather and leatherworking supplies. They may have a variety of leather options and the tools you need.
Online retailers: Explore online retailers specializing in leather and leatherworking supplies. They often offer a wide range of leather choices, patterns, closures, and other essential tools.
Leather suppliers: Look for specialized leather suppliers in your area. They may have a larger selection of leather grades, textures, and colors to choose from.
Thrift stores: Check out thrift stores or secondhand shops for pre-loved leather garments. You can repurpose these pieces by deconstructing them and using the leather for your vest.
Local leatherworkers: Reach out to local leatherworkers or artisans in your community. They may be able to guide you to the best places to source leather and share valuable tips and advice.
Remember to compare prices, read reviews, and consider the quality of the materials before making a purchase. Taking the time to find the right supplies will contribute to the success of your leather vest project.
Inspiration And Ideas For Customizing Your Leather Vest
If you’re looking for inspiration and ideas to take your leather vest to the next level, here are some suggestions:
Vintage aesthetics: Draw inspiration from vintage leather vests. Explore different eras, such as the 1950s or the 1970s, and incorporate design elements from those time periods.
Nature-inspired motifs: Embrace the beauty of nature by incorporating floral, leaf, or animal motifs into your vest. You can achieve this through embroidery, leather carving, or even painting.
Minimalistic elegance: Opt for a minimalist approach by keeping your vest clean and simple. Focus on impeccable craftsmanship and let the quality of the leather speak for itself.
Color blocking: Experiment with color blocking by using different colored leather panels to create a bold and eye-catching design. Choose complementary or contrasting colors for maximum impact.
Mixed materials: Combine leather vest with other materials, such as denim, patches, lace, or fabric, to create an interesting and unique look. Mix textures and patterns to add visual interest to your vest.
Conclusion
In conclusion, embarking on the journey of making your own leather vest is not only a creative endeavor but also an opportunity to showcase your unique style and personality. Crafting your vest offers the benefits of cost savings, superior quality, and a sense of accomplishment. By carefully following the step-by-step guide, incorporating personal touches, and practicing proper care, your leather vest will stand the test of time. When it comes to sourcing materials and finding inspiration, you have various options to explore. Whether you prefer a vintage look, nature-inspired motifs, minimalistic elegance, or vibrant color blocking, the possibilities are endless. So, embrace the art of crafting your leather vest and create a one-of-a-kind piece that truly reflects your individuality and craftsmanship.


Leave a reply